Here I am going to build on my previous blog of inventorying AWS accounts and talk about identity and access management. By now you have probably realised that your organisation, depending on its size, has more accounts with a lot of associated resources than you initially thought. The way users are created and access is managed in these accounts has a direct impact on the overall security of your infrastructure.
What accounts should your company have? Well it really depends on the nature of your organisation but I tend to see the following pattern for software development driven companies:
1. Organisation root. Your organisation root account should be used to create other accounts (and some other limited amount of operations) and otherwise shouldn’t be touched. Secure the credentials and leave it alone. It should not have any resources associated with it.
2. Identity. Not strictly necessary to have a separate account for this but isn’t it great to be able to manage all your users in a single account?
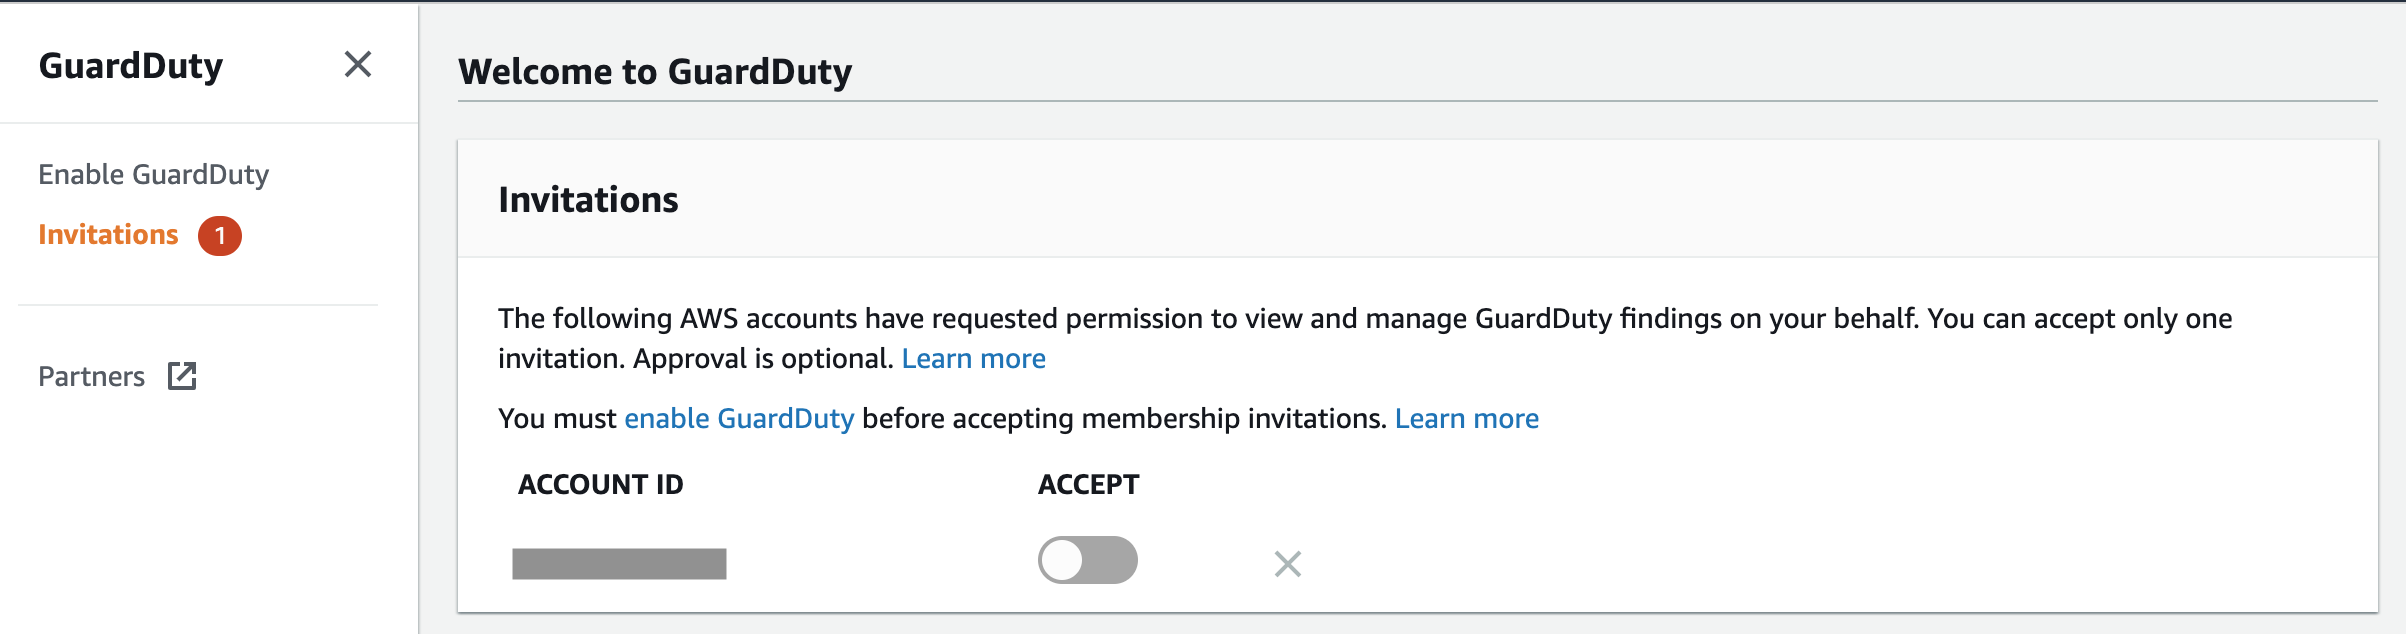
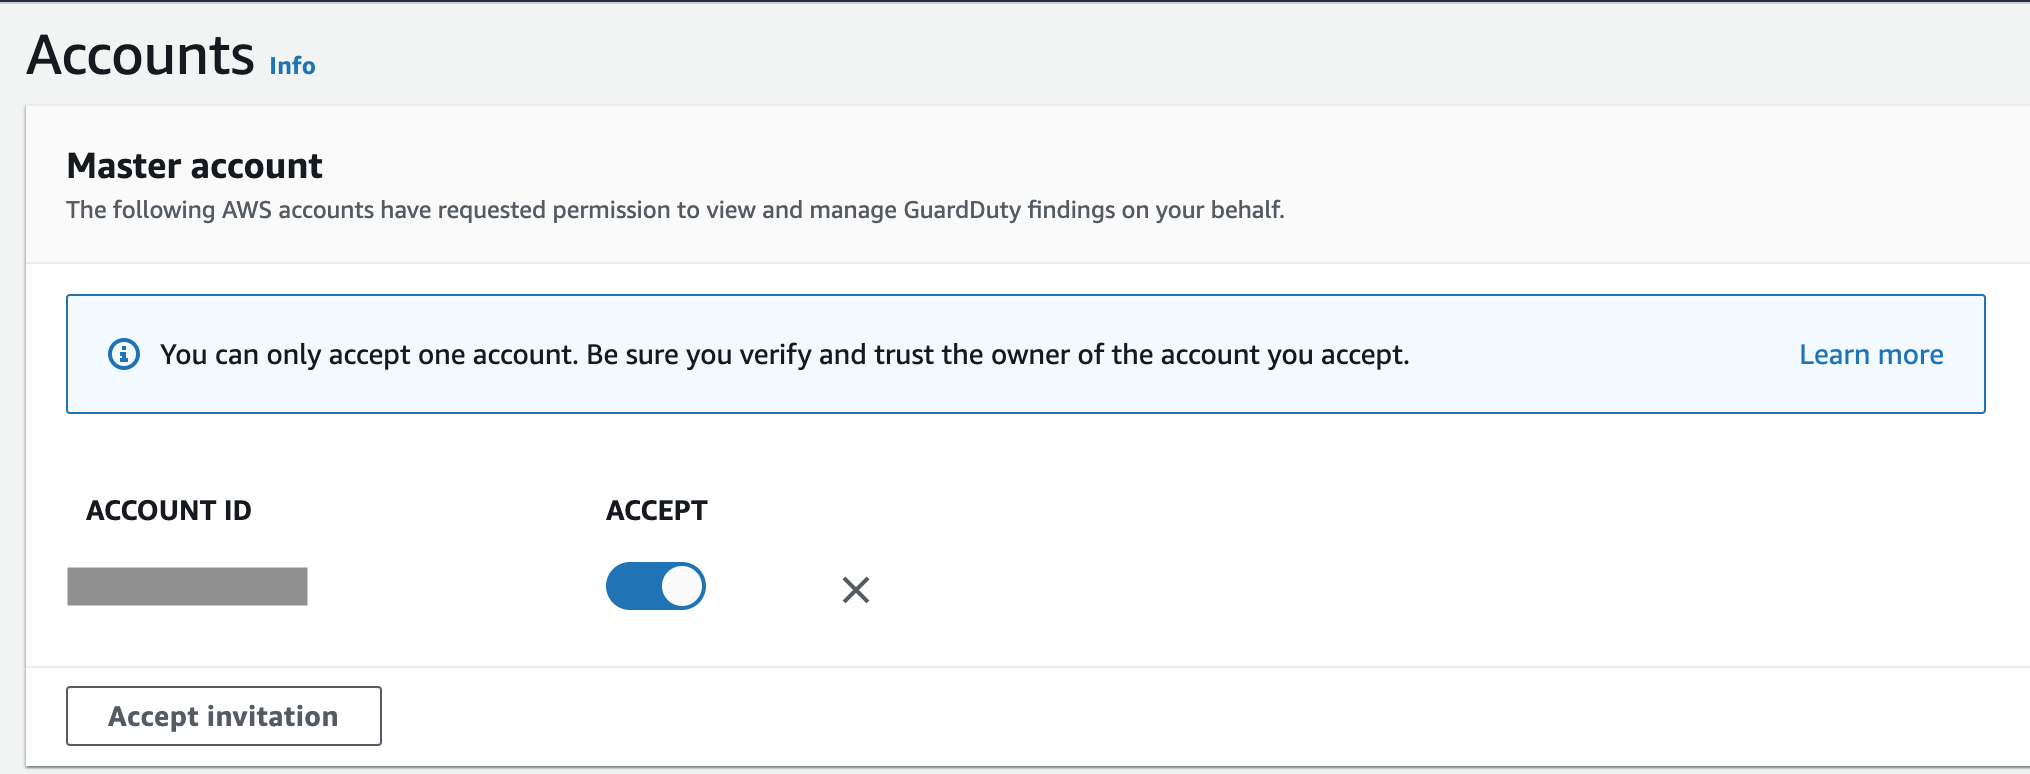
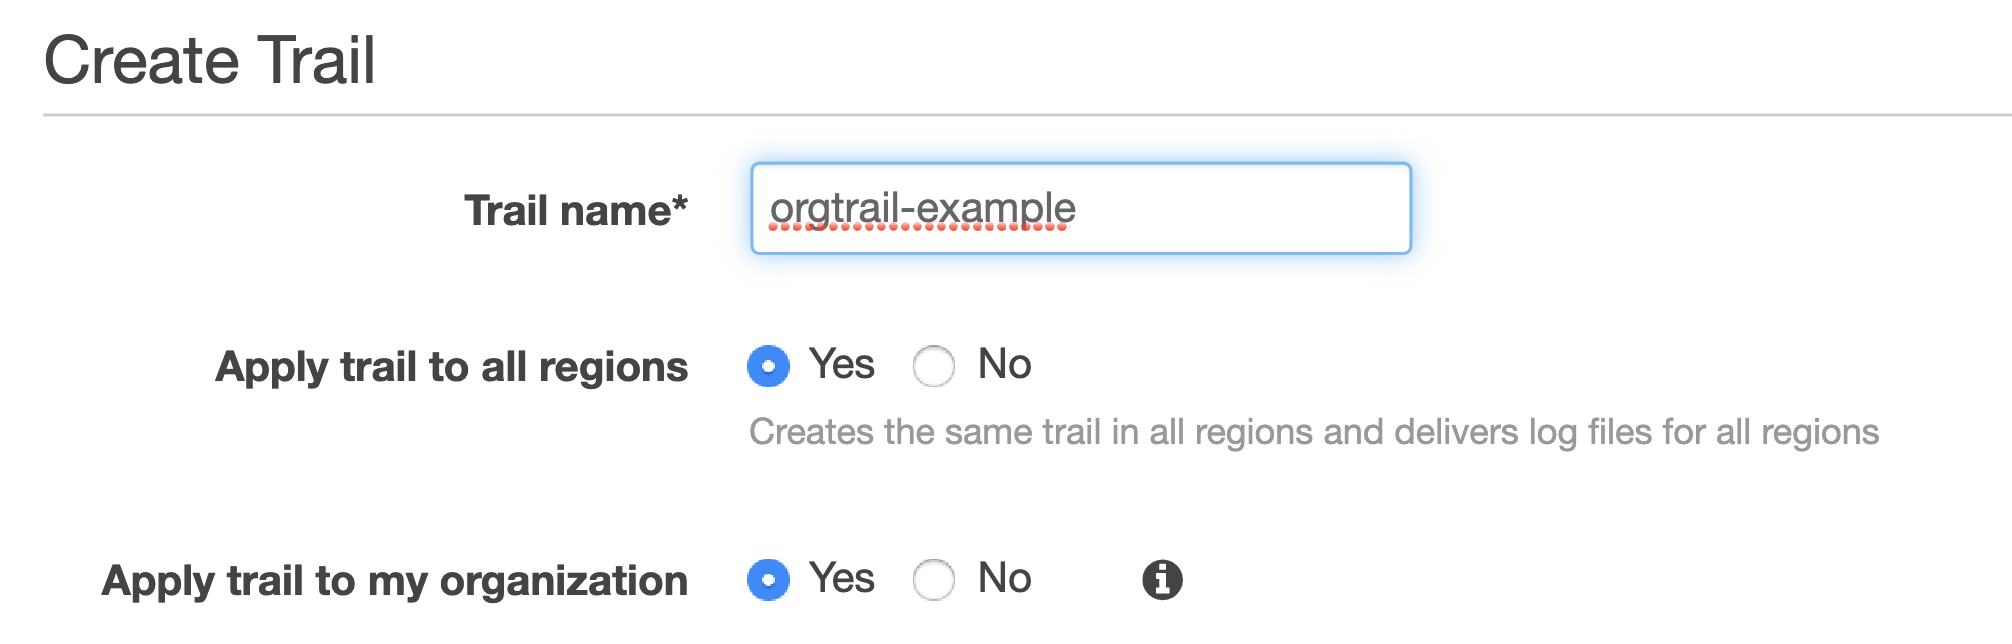
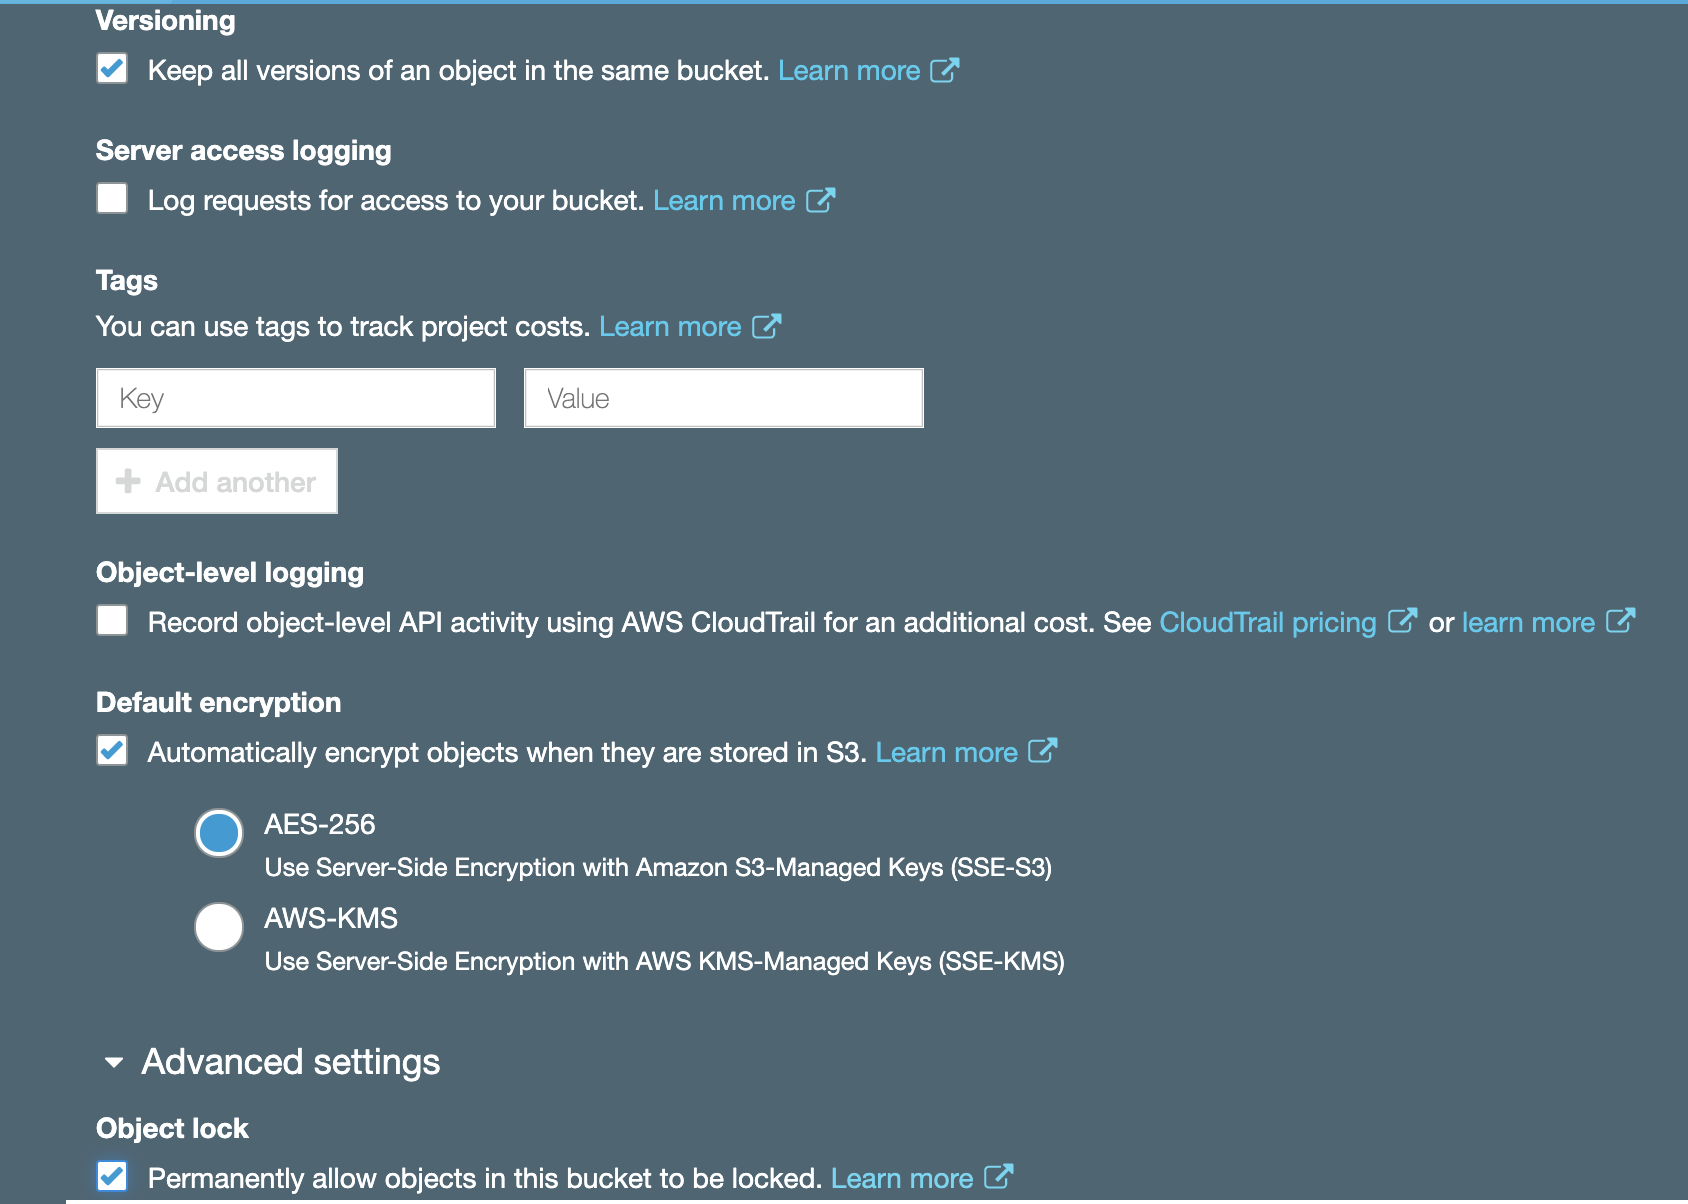
3. Operations. This account should be used for log collection and analysis. Your security team will be happy.
4, 5 and 6. A separate account for your development, staging and production environments. It’s a good idea to separate them for the ease of managing permissions and pleasing auditors.
Users and services that are managed within an AWS account, should only get access to what they need.
Security specialists are spending a great deal of their time reviewing firewall rules when working on their on-premise infrastructure to ensure they are not too permissive. When we move to the cloud, these rules look somewhat different but their importance has only increased.
To demonstrate the relationship between accounts, users, groups, roles and permissions, let’s walk through an example scenario of a developer in your company requiring read only access to the staging environment.
No automation or anything even remotely advanced is going to be discussed here as we are just covering the basics in this blog. It is no less important, however, to get these right. The principles discussed here will lay the foundation for more advanced concepts. Again, the terminology here is specific to AWS but overarching principles can be applied to any cloud environment.
To start with this scenario, let’s create a custom role CompanyReadOnly and attach an AWS managed ReadOnlyAccess policy in the Permissions tab.
| Role |
Policies |
| CompanyReadOnly |
ReadOnlyAccess |
This role allows a trusted entity (an account in this case) to access this account. When you access this account you will get the permissions defined in the policy.
Let’s say we have an account where all users are managed (the Identity account in point 2 in the list above). In this account, create a custom policy CompanyAssumeRoleStagingReadOnly allowing assuming the right role, where 123456789012 is Staging account ID which is the trusted entity for the Identity account:
{
    "Version": "2012-10-17",
    "Statement": [
        {
            "Effect": "Allow",
            "Action": "sts:AssumeRole",
            "Resource": "arn:aws:iam::123456789012:role/CompanyReadOnly"
        }
    ]
}
Now let’s create a custom StagingReadOnly group and attach the above policy in the Permission tab.
| Group |
Permissions |
| StagingReadOnly |
CompanyAssumeRoleStagingReadOnly |
Finally add a user to that group:
| User |
Group |
Permissions |
| Developer |
StagingReadOnly |
CompanyAssumeRoleStagingReadOnly |
In this group additional permissions can be added, e.g. AWS managed enforce-mfa policy for mandatory multi-factor authentication.
Of course, granular policies specifying access to particular services rather than blanket ReadOnly is preferred. Remember the aim here is to demonstrate IAM fundamental principles rather than recommend specific approaches you should use. The policies will depend on the AWS resources your organisation actually uses.

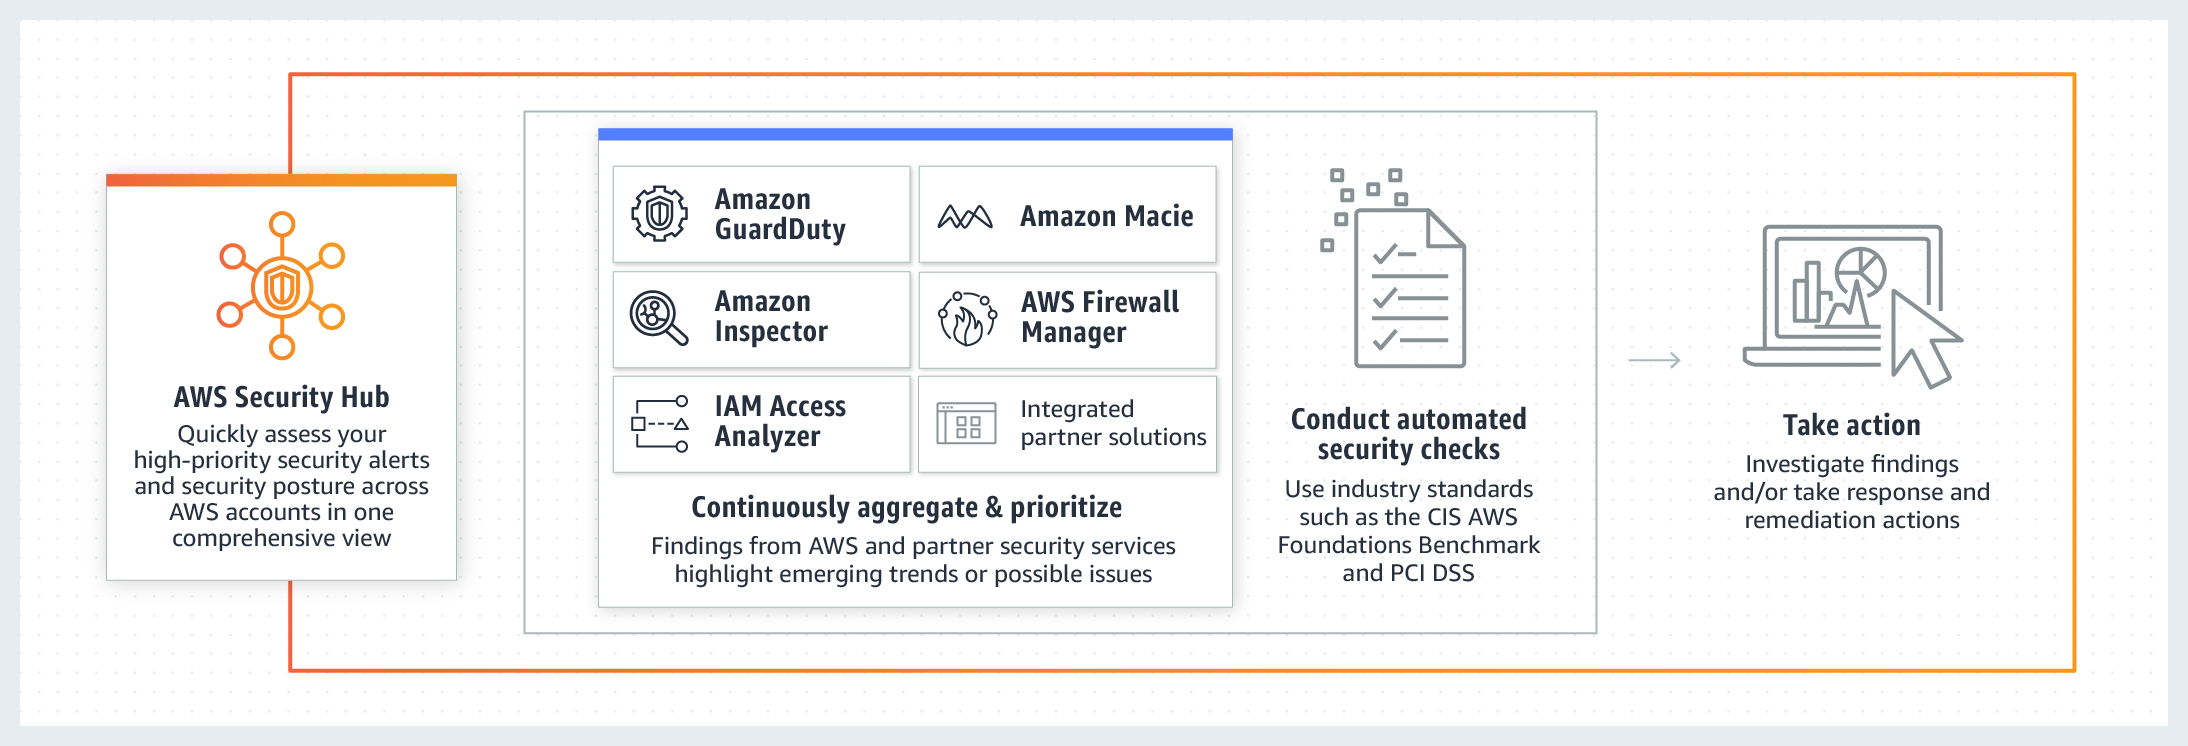
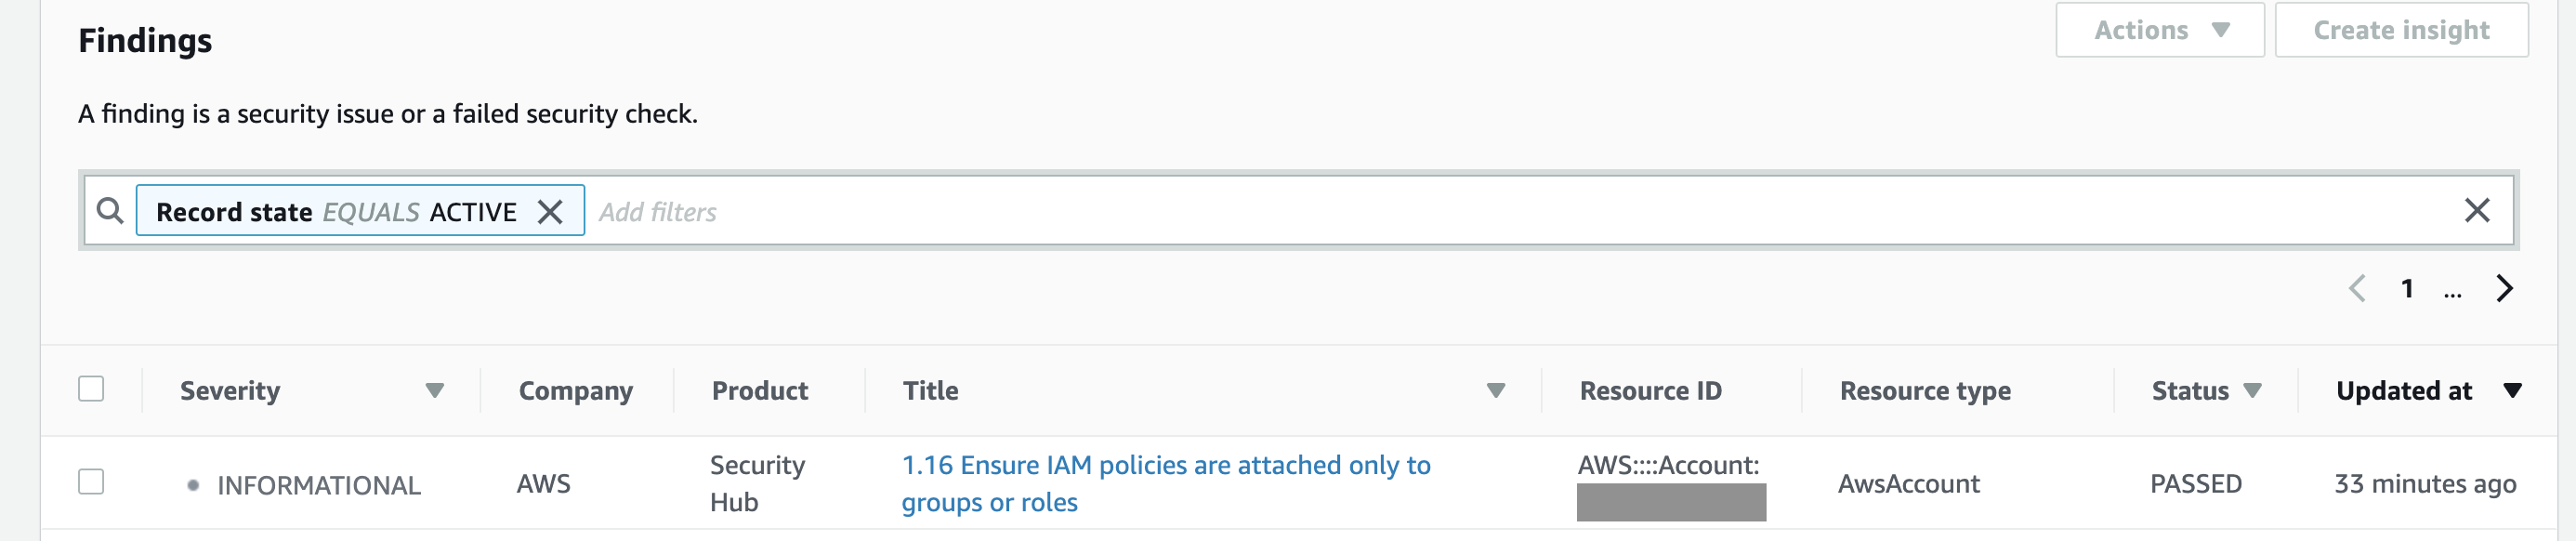


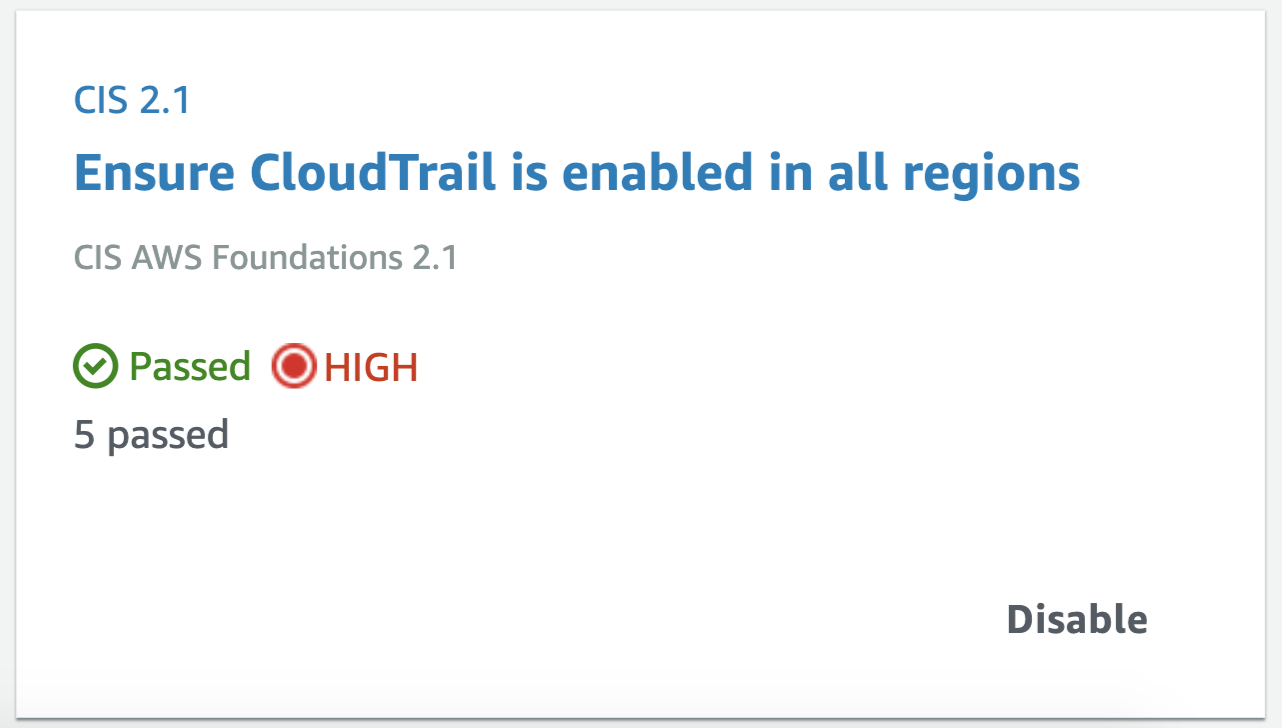 Apart from consolidating findings from other services, it also assesses your overall AWS configuration against PCI DSS and/or the